從script_fu中學習影像處理技巧:製作小島圖案
|
|
|
|
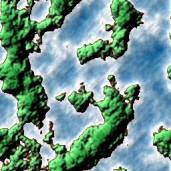
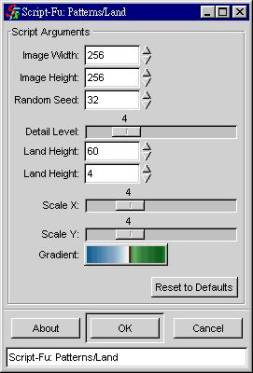
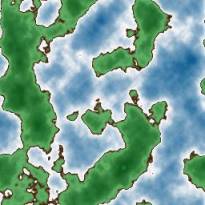
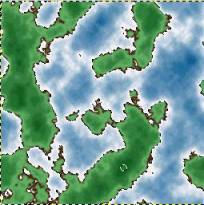
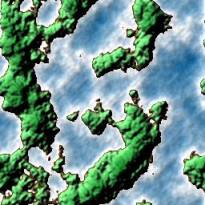
l 執行[GIMP] -> Xtns -> Script_Fu -> Patterns -> Land使用預設的參數,產生上圖綠色的島嶼淡藍色的海水的圖案。 l 試試不同的參數,尤其是Gradient這個參數,你將有意想不到的新發現。 l 這個圖案是無接縫的圖案,執行[image] -> Filters -> Map -> Tile,(或Small Tiles)你會可產生多個小島圖案並排重疊的新圖案。 |
一、 Step By Step
|
每個步驟所產生的影像視窗 |
以圖形使用者介面製作小島圖案,需要的步驟: |
對應到land.scm程式碼中的函數 |
|
|
l File-> New,新增一個透明底色256x256影像,圖層更名為bottom。 |
3: (img (car (gimp-image-new width height RGB))) 4:(layer-one (car (gimp-layer-new img width height RGB "bottom" 100 NORMAL))) 6: (gimp-gradients-set-active gradient) 7: (gimp-image-undo-disable img) 8: (gimp-image-add-layer img layer-one 0) |
|
|
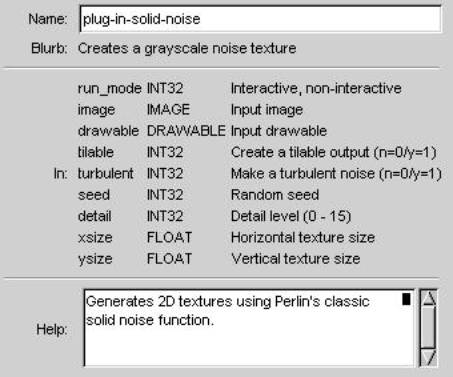
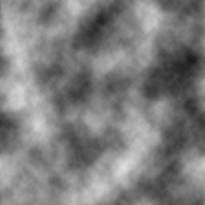
l 執行[image] -> Filters -> Render -> Clouds -> Solid-Noise,點選Tileable選項,Turbulent選項不點選,產生灰階霧狀效果。 l 點選Tileable選項,產生的圖案是無接縫的圖案。 |
10: (plug-in-solid-noise 1 img layer-one TRUE FALSE seed detail xscale yscale) |
|
|
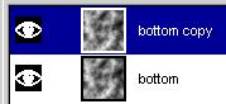
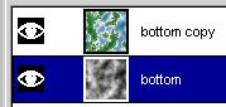
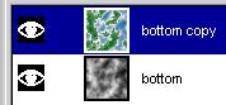
l 執行[image] -> Colors -> Auto-> Stretch Contrast,增強明暗對比。 l 複製bottom圖層得到新圖層bottom Copy圖層。 |
11: (plug-in-c-astretch 1 img layer-one) 12: (set! layer-two (car (gimp-layer-copy layer-one TRUE))) 13: (gimp-image-add-layer img layer-two -1) 14: (gimp-image-set-active-layer img layer-two) |
|
|
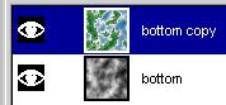
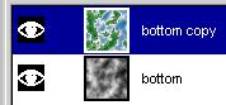
l 對bottom Copy圖層執行[image] -> Filters -> Colors -> Map -> Gradient Map,使用Land漸層,將黑白圖案變成彩色的圖案。 |
16:(plug-in-gradmap 1 img layer-two) |
|
|
l 對bottom 圖層,使用Select -> By Color,臨界值Threshold設55,將灰階為190的灰色及其附近的顏色選住。 |
20:(gimp-by-color-select layer-one '(190
190 190) 55 REPLACE FALSE FALSE 0 FALSE) |
|
|
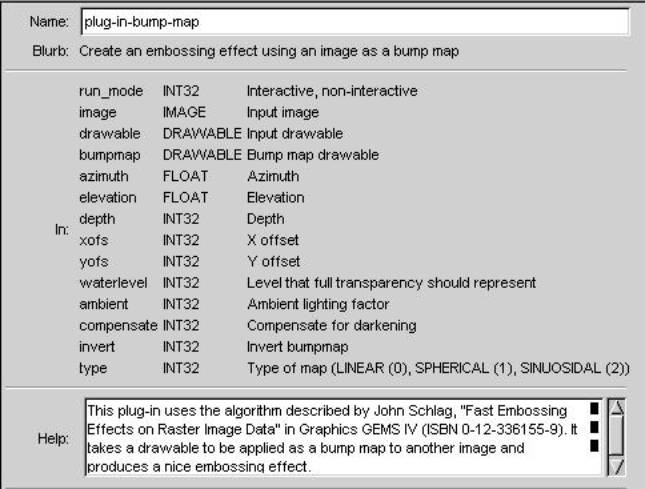
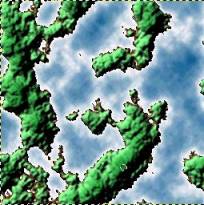
l 對bottom Copy圖層執行[image] -> Filters -> Map -> Bump Map,Map Type選Linear Map,Compensation for Darkening狀態按鈕要點選,Azimuth設135,Elevation設35,Depth設60(landheight),其餘為0,Bump Map圖層設bottom圖層。 |
21:(plug-in-bump-map 1 img layer-two layer-one 135.0 35 landheight 0 0 0 0 TRUE FALSE 0) |
|
|
l 執行[image] ->Select -> Invert,將選取區域反轉。 l 對bottom Copy圖層執行[image] -> Filters -> Map -> Bump Map,Map Type選Linear Map,Compensation for Darkening狀態按鈕要點選,Azimuth設135,Elevation設35,Depth設4(seadepth),其餘為0,Bump Map圖層設bottom圖層。 l 執行[image] -> Select -> None釋放取區域。 |
24:(gimp-selection-invert img) 25:(plug-in-bump-map 1 img layer-two layer-one 135.0 35 seadepth 0 0 0 0 TRUE FALSE 0) 30:(gimp-selection-none img) |


二、原始程式碼:
|
|
|
|
; The GIMP -- an image manipulation program ; Copyright (C) 1995 Spencer Kimball and Peter Mattis ; ; Land --- create a pattern that resembles a Topographic map ; Copyright (C) 1997 Adrian Karstan Likins ; aklikins@eos.ncsu.edu ; ; ; This script works on the current gradient you have loaded. ; Some suggested gradients: ; Land (produces a earthlike map) ; Brushed_aluminum (looks like the moon) ; ; ; Thanks to Quartic for helping me debug this thing. ; ; This program is free software; you can redistribute it and/or modify ; it under the terms of the GNU General Public License as published by ; the Free Software Foundation; either version 2 of the License, or ; (at your option) any later version. ; ; This program is distributed in the hope that it will be useful, ; but WITHOUT ANY WARRANTY; without even the implied warranty of ; MERCHANTABILITY or FITNESS FOR A PARTICULAR PURPOSE. See the ; GNU General Public License for more details. ; ; You should have received a copy of the GNU General Public License ; along with this program; if not, write to the Free Software ; Foundation, Inc., 675 Mass Ave, Cambridge, MA 02139, USA. |
|
|
1:(define (script-fu-land width height seed detail landheight seadepth xscale yscale gradient) 2: (let* ( 3: (img (car (gimp-image-new width height RGB))) 4: (layer-one (car (gimp-layer-new img width height RGB "bottom" 100 NORMAL))) 5: ) 6: (gimp-gradients-set-active gradient) 7: (gimp-image-undo-disable img) 8: (gimp-image-add-layer img layer-one 0) 9: 10: (plug-in-solid-noise 1 img layer-one TRUE FALSE seed detail xscale yscale) 11: (plug-in-c-astretch 1 img layer-one) 12: (set! layer-two (car (gimp-layer-copy layer-one TRUE))) 13: (gimp-image-add-layer img layer-two -1) 14: (gimp-image-set-active-layer img layer-two) 15: 16: (plug-in-gradmap 1 img layer-two) 17: 18: 19: 20: (gimp-by-color-select layer-one '(190 190 190) 55 REPLACE FALSE FALSE 0 FALSE) 21: (plug-in-bump-map 1 img layer-two layer-one 135.0 35 landheight 0 0 0 0 TRUE FALSE 0) 22: 23: ;(plug-in-c-astretch 1 img layer-two) 24: (gimp-selection-invert img) 25: (plug-in-bump-map 1 img layer-two layer-one 135.0 35 seadepth 0 0 0 0 TRUE FALSE 0) 26: 27: ;(plug-in-c-astretch 1 img layer-two) 28: 29: ; uncomment the next line if you want to keep a selection of the "land" 30: (gimp-selection-none img) 31: 32: (gimp-display-new img) 33: (gimp-image-undo-enable img) 34: )) 35: |
|
|
36: (script-fu-register "script-fu-land" 37: _"<Toolbox>/Xtns/Script-Fu/Patterns/Land..." 38: "A Topgraphic map pattern" 39: "Adrian Likins <aklikins@eos.ncsu.edu>" 40: "Adrian Likins" 41: "1997" 42: "" 43: SF-ADJUSTMENT _"Image Width" '(256 10 1000 1 10 0 1) 44: SF-ADJUSTMENT _"Image Height" '(256 10 1000 1 10 0 1) 45: SF-ADJUSTMENT _"Random Seed" '(32 0 15000000 1 10 0 1) 46: SF-ADJUSTMENT _"Detail Level" '(4 1 15 1 5 0 0) 47: SF-ADJUSTMENT _"Land Height" '(60 1 65 1 10 0 1) 48: SF-ADJUSTMENT _"Land Height" '(4 1 65 1 10 0 1) 49: SF-ADJUSTMENT _"Scale X" '(4 0.1 16 1 5 0.1 0) 50: SF-ADJUSTMENT _"Scale Y" '(4 0.1 16 1 5 0.1 0) 51: SF-GRADIENT _"Gradient" "Land_1") |
|
三、其他函數的說明: